How to Use a Stretch Ruler

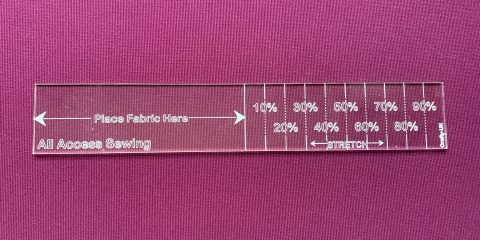
Working with Stretch fabrics can be challenging. However, if you have a disability, or experience sensory challenges around clothing, stretch fabrics are a great addition to an accessible wardrobe. A tool that can assist in working with stretch fabrics is our All Access Sewing Stretch Ruler. If you have never used a stretch ruler before, follow this easy guide to see how.
At the bottom of this guide you will find links to download the calculation tables for working out how to resize your fabric pieces. The stretch ruler can be used without these tools, however, if you find mental arithmetic difficult, these tables will do all the hard work for you. You can also download them for metric measurements here and imperial measurements here if you don’t wish to scroll down.
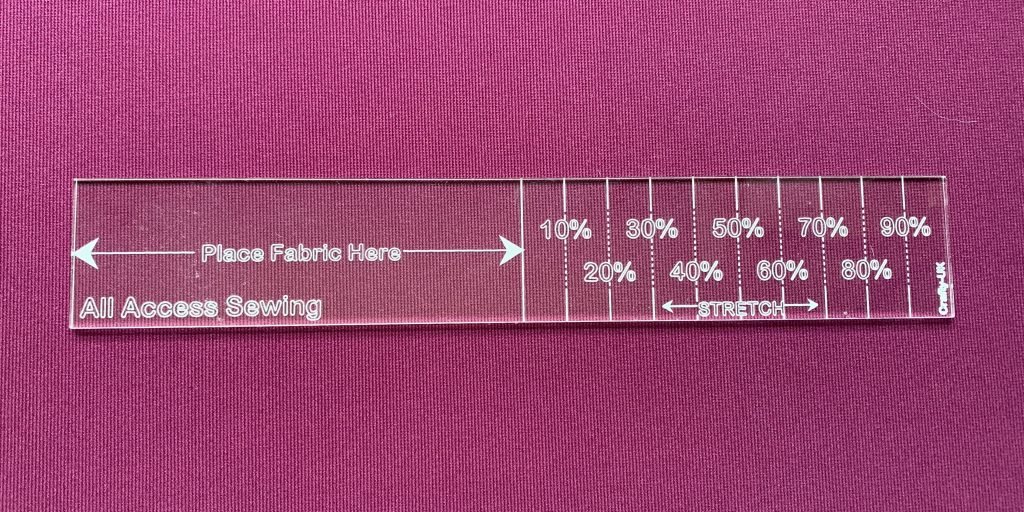
There is no need to measure your fabric to calculate your stretch with this ruler, making it very simple to use, especially if you have dyslexia or dyscalculia. It can also be used by both right-handed and left-handed people.

Step 1 – Take your fabric and fold it in half along the width (or whichever direction has the most stretch). Hold it against the ruler between the points marked ‘Place Fabric Here’.
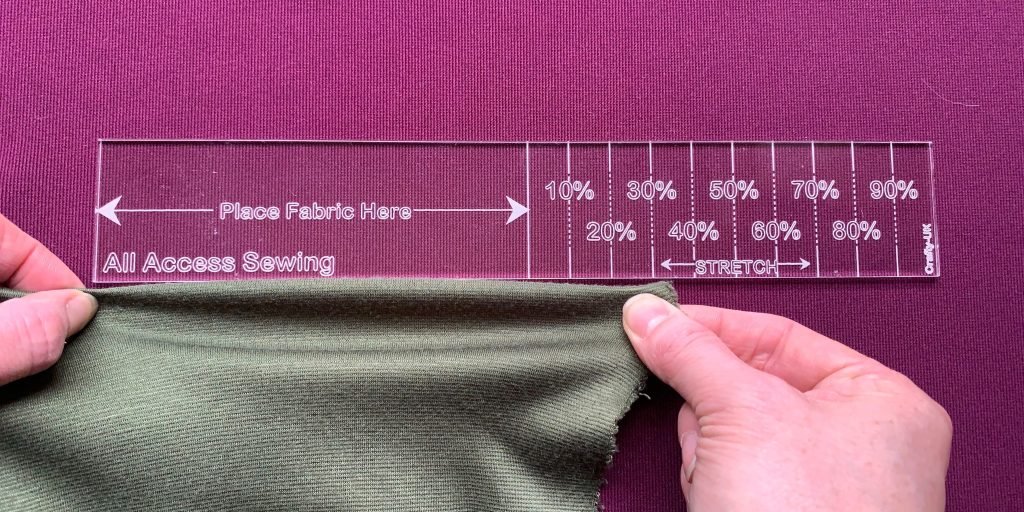
Step 2 – Hold the fabric steady at the end of the ruler and gently pull the other end along the ‘stretch’ part of the ruler. Stretch until the fabric feels taut, but not too strained. We are wanting to calculate the ‘gentle’ stretch. Make a note of where the fabric stops. In this example the fabric can easily be stretched to the 30% mark. This means our fabric has 30% stretch. This example is being used right-handed. If you are left-handed, just rotate the ruler 180 degrees.
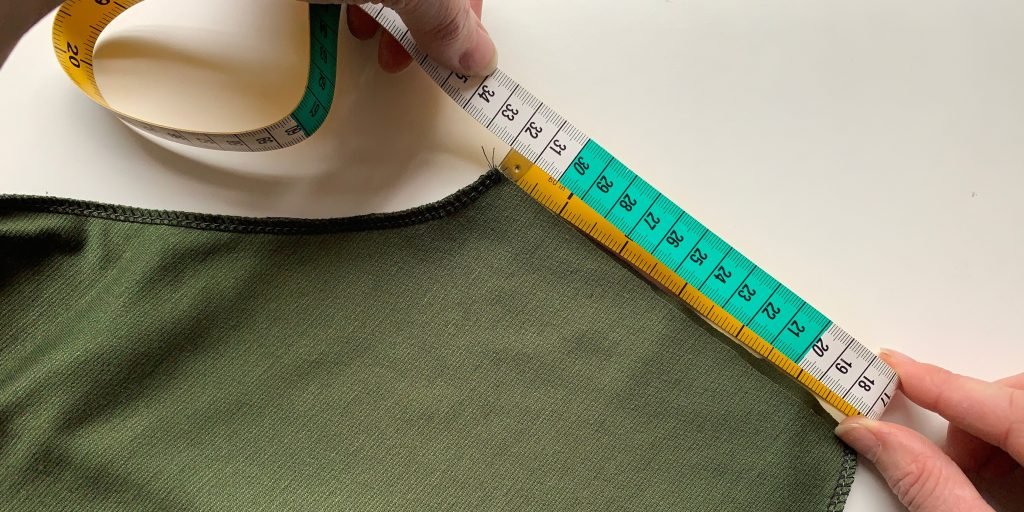
Step 3 – Now we need to measure the area we are going to be attaching our stretch fabric to. In this example we are adding a cuff to a sleeve. We need to measure the sleeve of the garment. Here, you can see our sleeve end is 32cm.
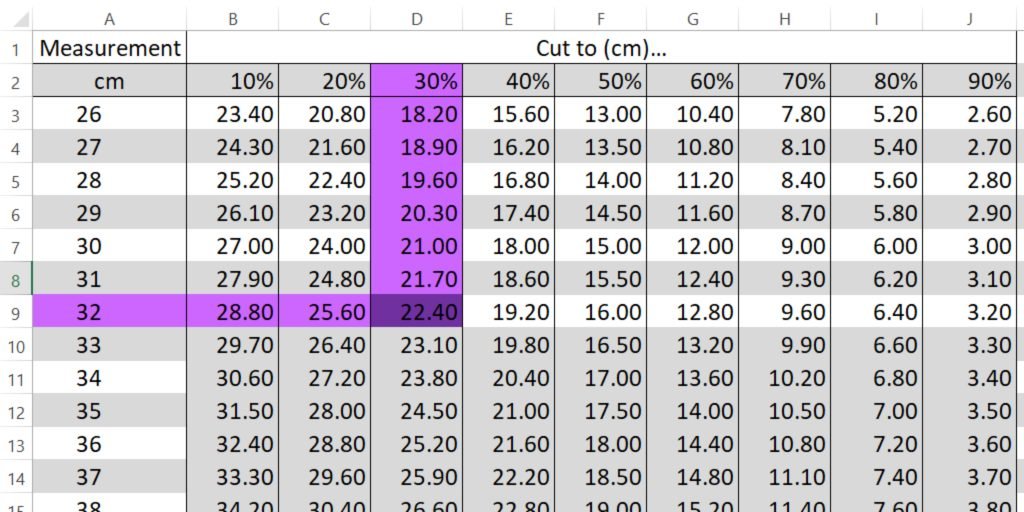
Step 4 – Download the calculations table (available for both metric and imperial measurements) at the bottom of this page (or by clicking on these links). Find your total sleeve end measurement in the left-hand column (32cm) and find where it intersects with the stretch percentage along the top (30%). In our example the number shown is 22.4cm. This means we need to cut our cuff to 22.4cm to remove the stretch. The tables of calculations have worked out the deductions for you so no more needing to use complicated formulas!
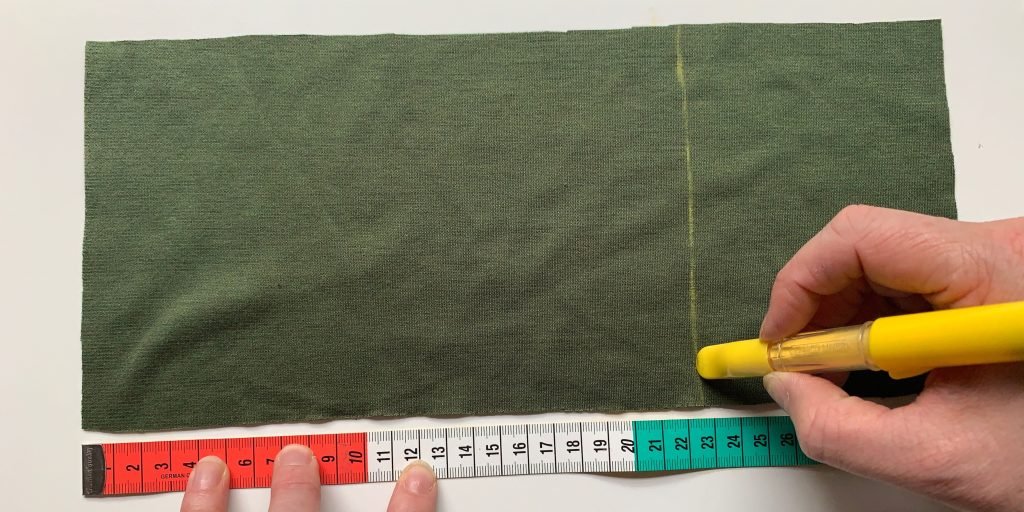
Step 5 – On your fabric mark the new measurement. In this example we are marking 22.4cm to reduce our cuff by 30%.
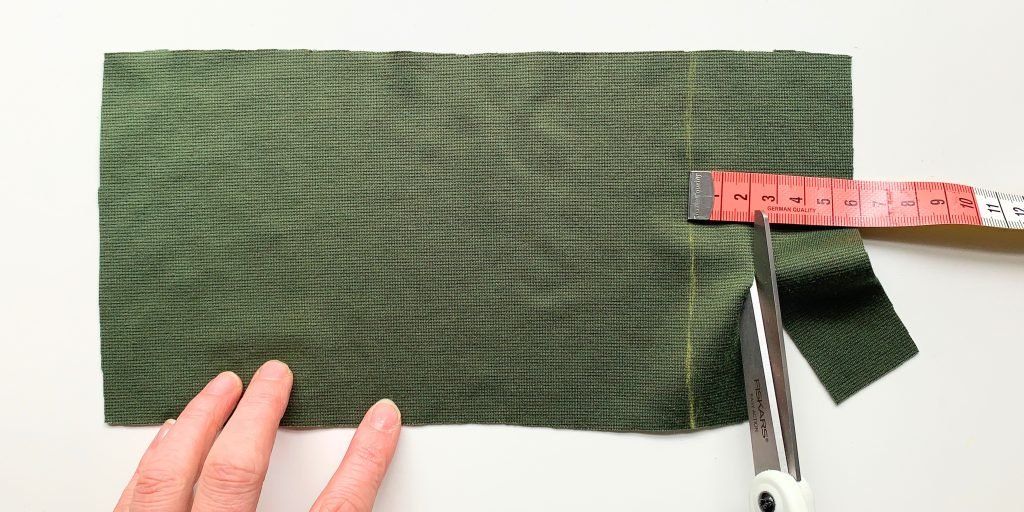
Step 6 – Add on 2 cm (or 1″) to the marked line and cut to this length. This gives you your seam allowance (1cm/1/2″). Your fabric has now been reduced by the percentage of stretch in the fabric.
If you are using this guide to add a sleeve to a garment…
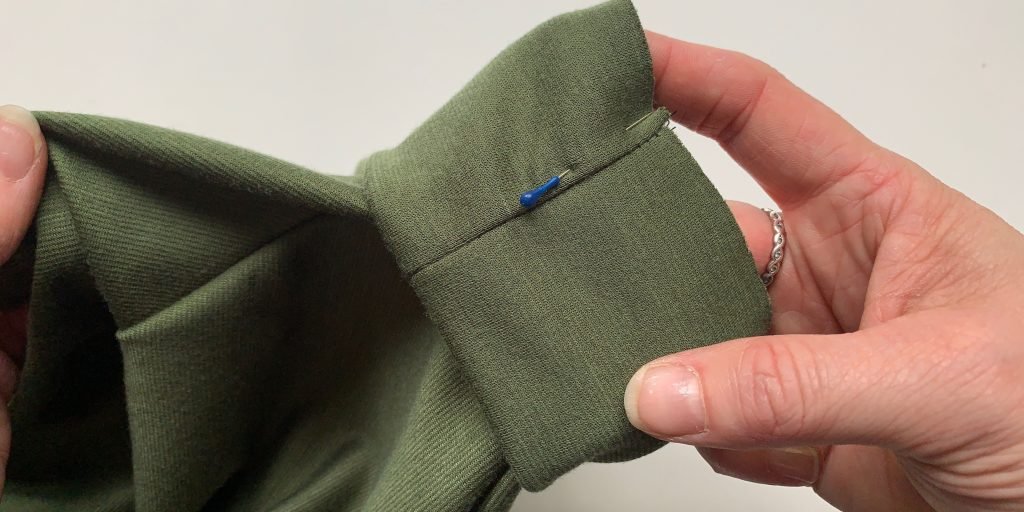
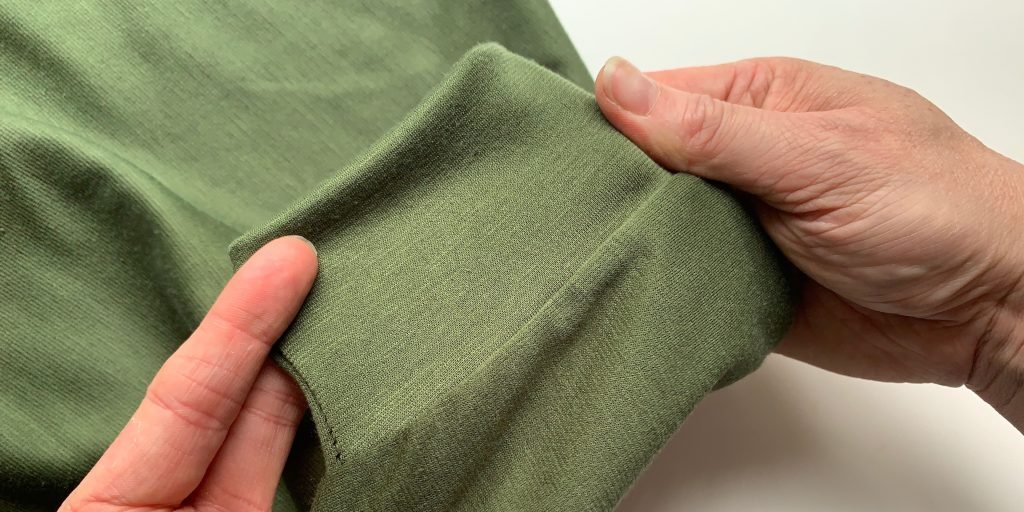
Step 7 – Stitch the short ends of your cuff piece together and fold in half lengthways, enclosing the seam inside. With right sides together, pin the cuff to the sleeve end, lining up the raw edges, stretching the cuff to fit the sleeve end.
Step 8 – Stitch the cuff to the sleeve end, stretching it to fit as you go. The cuff will now be attached to the sleeve. For full instructions on how to make this alteration, check out our All Access Sewing book!
All Access Sewing Stretch Ruler Calculation Tables:
Products used in this project:
